How To Repair LED Flood Lights?
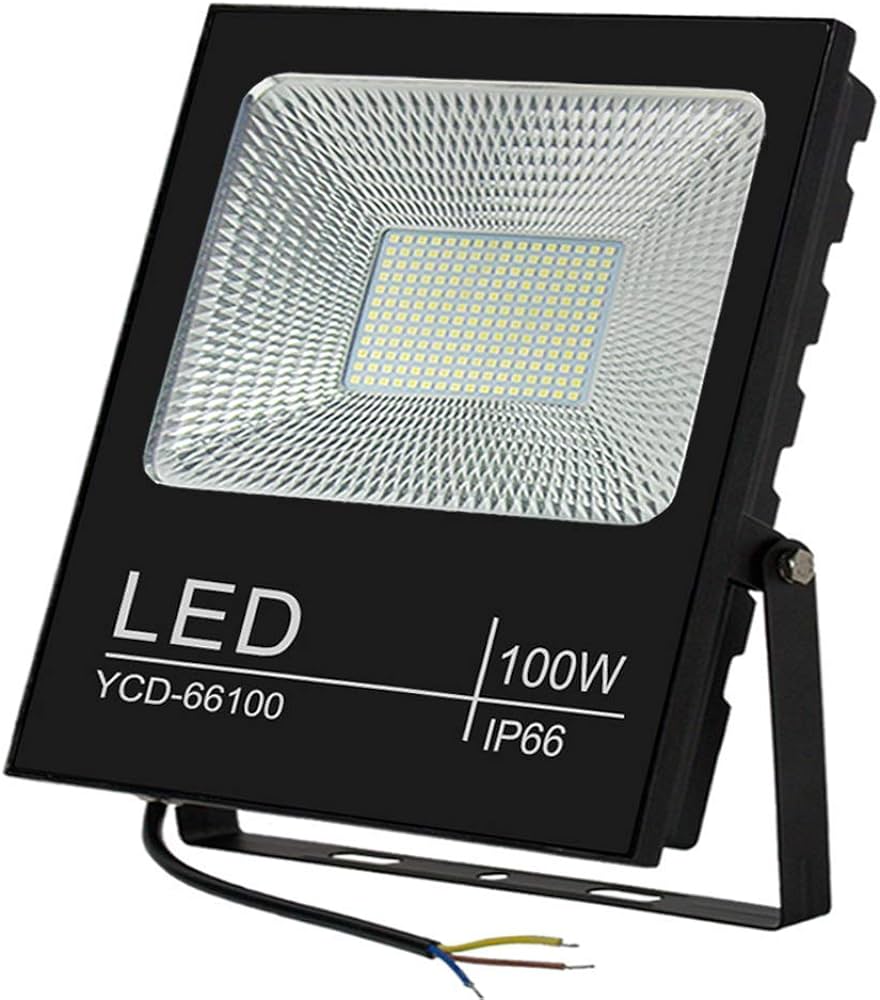
LED floodlights are essential to outdoor lighting because they give off bright, useful light for many usages. These lights are an excellent choice for safety reasons, outdoor events, or to make your place look better. However, like any other tech gadget, LED floodlights can have problems over time. This post will discuss some of the most common issues with LED flood lights. View more of the step-by-step instructions on how to fix them.
Common issues with LED floodlights
LED floodlights are known to last long, but problems can happen occasionally. One problem that comes up a lot is the lights that blink. It could be a bad driver or some wire that needs to be tight. The lights getting dim is another issue. This could happen if the power source goes down or the LED driver is broken. Some LED flood lights may also experience color shifting, meaning the light source changes from its original color temperature. This could be because the LEDs are old or the driver isn’t working right.
Tools needed for LED flood light repair
It is important to get all of the tools and equipment you will need before starting to fix something. Not only do these tools make the fixing process easier to follow, but they also make it go faster. Here is a longer list of the tools you’ll need to fix an LED flood light:
-
Screwdriver Set
To take out the screws that hold the LED flood light base in place, you will need both Phillips and flathead screwdrivers. A complete set makes sure that it works with a range of screw sizes.
-
Wire Cutters
You need precision wire cutters to cut wires cleanly during the fixing process. These tools make it easier to take off broken parts carefully.
-
Wire Strippers
Wire cutters carefully remove the insulation from wires so that the link is clean and effective when parts are spliced or replaced.Wire cutters carefully remove the insulation from wires so that the link is clean and effective when parts are spliced or replaced.
-
Multimeter
A versatile multimeter is a fundamental tool for electrical diagnostics. It allows for the measurement of voltage, current, and resistance, aiding in the identification of potential issues within the LED flood light’s electrical system.
Heat Shrink Tubing
Heat shrink tubing is used to insulate and protect soldered connections. It provides a neat and professional finish while enhancing the repair’s longevity.
Electrical Tape
Electrical tape is a versatile insulating material that can be used to secure and insulate wires. It is particularly useful for temporary fixes or bundling wires together.
Replacement Components
LED Drivers or LEDs: Having replacement components on hand is crucial depending on the identified issues. Ensure compatibility by referring to the manufacturer’s LED flood light model specifications.
Step-by-step guide to repairing an LED flood light
Safety first
Before working on any electrical device, ensure the power is turned off. This can be done by switching off the circuit breaker or unplugging the flood light from its power source.
Inspect the light
Examine the LED flood light for any visible damage or loose connections. Check the wiring, driver, and LEDs for any signs of wear or malfunction.
Replace faulty components
If any components are visibly damaged, such as a burnt-out LED or a blown driver, carefully remove them and replace them with new ones. Follow the manufacturer’s instructions for proper installation.
Check the wiring
Use a multimeter to test the continuity of the wiring connections. Ensure that the wiring is securely connected and that there are no loose or frayed wires.
Test the light
Once all the repairs have been made, turn on the power and test the LED flood light. Ensure that it is functioning properly and that the repaired components are working as expected.
Secure the connections
Once you are satisfied with the repair, secure all the connections using electrical tape, heat shrink tubing, or other appropriate methods. This will help prevent future issues caused by loose connections.
- Also Read: Zee HQ is the best platform for more information, and also to read about Buffalo Milk.
Troubleshooting tips for LED flood light repair
While the step-by-step guide provided above should address most issues with LED flood lights, there are a few additional troubleshooting tips to consider.
- If the light still flickers after replacing the driver, check the power supply voltage to ensure it is stable.
- If the light remains dim after replacing the driver, verify that the power supply is providing the correct voltage.
- If the color-shifting issue persists, consider replacing the aging LEDs or seeking professional assistance to recalibrate the driver.
Conclusion:
LED flood lights are an integral part of outdoor lighting, and being able to repair them can save you time and money and contribute to a sustainable environment. Following the step-by-step guide in this article, you can troubleshoot and repair common issues with your LED flood lights. Remember to prioritize safety, gather the necessary tools, and seek professional assistance. With proper maintenance and timely repairs, your LED floodlights will continue illuminating your space for years.